Conducting a field test of your rangefinder can help you verify its accuracy and reliability. Here are the specific steps to follow:
1. Preparation:
Make sure the rangefinder is fully charged and in good working condition.
2. Select a test site:
Select a few targets on a golf course or long grass field where you can confirm the distance, such as marker poles, flagpoles, or other obvious ground markers.
3. Measure known distances:
Find a known distance (e.g., distance from tee to green) from the targets. Many courses mark accurate distances on tees, greens and boundaries.
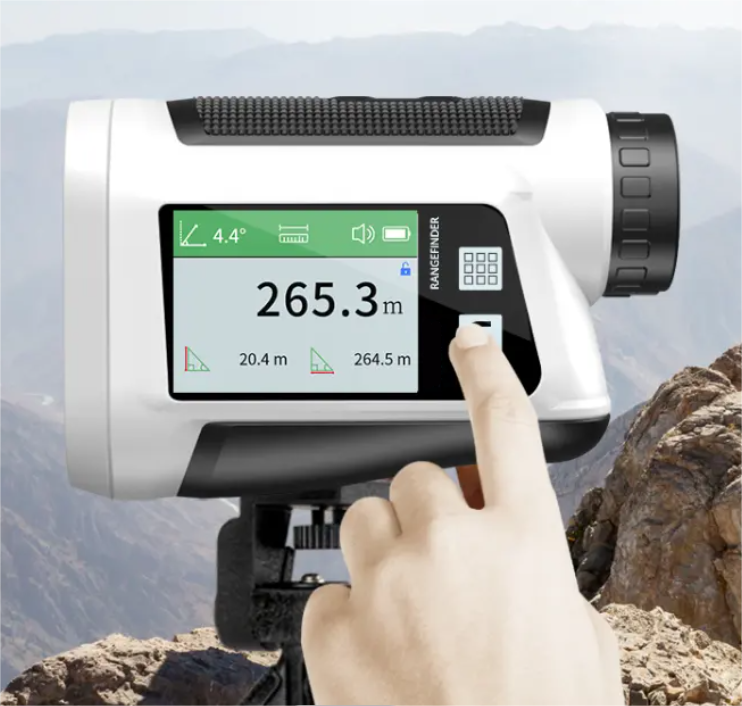
4. Use the rangefinder:
Start the rangefinder and follow the instructions by aiming at the target and measuring the distance.
5. Record results:
Record the distance displayed by the rangefinder and compare it with known distances.
6. Multiple measurements:
Take multiple measurements of the same target to ensure the consistency of each measurement and calculate the average value.
7. Checking different conditions:
Take measurements under different weather conditions (e.g., sunny, cloudy) and different terrains (e.g., uphill, downhill) to assess the stability of the rangefinder.
8. Compare with other equipment:
If possible, compare rangefinder results with other types (e.g., laser, GPS) or brands of rangefinders to further verify accuracy.
9. Summary and Evaluation:
Summarise the performance of the rangefinder and evaluate its accuracy and reliability based on the measurement results.
These steps allow for a comprehensive and effective test of the golf rangefinder’s performance in real-life scenarios.